Showing posts with label Back to School. Show all posts

Thursday, August 4, 2016

Creating a Teacher Binder That Works for YOU! (FREEBIE)


Okay, let's talk organization. I'm a very organized person and there is one organization tool that this teacher CANNOT live without! Why, it's my teacher binder, of course! My teacher binder is my absolute favorite teacher tool that I have used every year! I put mine together before I started my first year teaching and I can actually say that I used it every.single.day! It kept me so organized and on top of everything! I took it to every type of meeting ever (IEP, faculty, parent-teacher, RtI, team, district, etc). I pulled it out every time I lesson planned. No wonder it looked so worn after a year of use!

Today, I'm going to share with you how I put together my teacher binder and maybe you can pick up some tips for putting together your own binder! I'm going to show you pics from my old binders as well as the one that I'm putting together to use as a home binder while I'm doing the whole stay-at-home mom gig.


Look at those beauties! The far left was my very first teacher binder. The middle one was my second one (and comes from my best-selling Chevron Teacher Binder Bundle). The one on the right is my newest binder (and comes from my brand new Bright Colors Teacher Binder Bundle).

Alright let's get this binder going! Gather up your supplies!

First thing you'll need: a HEAVY DUTY binder

I know they cost more. I understand. But trust me. You are going to want a heavy duty binder because you will use this thing ALL THE TIME! My binder from last year was a heavy duty binder and it still looked worn out by the end of the year. Think what that thing would have looked like if I hadn't sprung for the heavy duty binder!

Here's the binder I used last year. I opted for a black binder. I'm kind of obsessed with colorful covers on a black background. It really makes the colors pop!


I would definitely suggest using a 1.5" binder for your teacher binder. By the time you add all the necessities, it gets pretty thick!

I love these binders because they have the easy open rings. I HATE pulling rings apart and then closing them. I'm always sure that I'm going to pinch the skin between my thumb and pointer finger and die a slow painful death. So the easy-open is a must for anti-anxiety purposes.

*Sidenote: Look at my cute school picture! HA!

Go ahead and put your cover in the front and your spine label on the side.

TIP: Cardstock works really well for your cover and dividers because it holds up really well BUT don't use cardstock for your spine label. IT IS A PAIN TO GET IN THAT THIN SLEEVE! Trust me. My first year I did cardstock and it took all sorts of extra tools and effort to get it in. The next year, I just used plain printer paper and it slid right in and never fell out! Learn from my mistakes, y'all.


In the pic above, you can see just how beat up your binder will get after a year of use! Can you imagine if I hadn't sprung for the heavy duty binder?!

Next you'll need some dividers. You really can get whatever dividers your heart desires but I like my dividers to have pretty covers so I buy these clear page protector dividers:


TIP: During my second year of teaching, I bought the Avery Page Protector Dividers which were very durable and great but the labels that went on the tabs started falling off and the ink rubbed off pretty quickly. That's why I decided to go with these Office Depot ones this year. They have the standard paper that slides into the tab. Hopefully they'll last a bit longer!

Now here's a little warning for you. The heavy duty binders have the rings on the back cover of the binder instead of on the spine. Because of this (and because the dividers are wider than standard dividers), your tabs will hang out the edge of the binder. This may annoy some people so I wanted to give you a fair warning. Honestly, I hated it when I first made my binder. But I didn't want to compromise on my heavy duty binder or my pretty dividers so I sucked it up. I can now say that I honestly loved it in the end because I didn't even have to open my binder to flip to a section. Oh you need to see my lesson plans, BAM! I can flip right to them without opening my binder first. Fancy, I know.

***SHAMELESS SELF-PROMOTION***
You can find the divider covers in my teacher binder bundle at the end of this post :)

Next, you need to decide what sections you want in your binder. I played around with what sections I wanted once the school year began. I ended up not using all the sections I originally chose so I went back and changed them out. That's okay, guys. Remember, you want this binder to work for you, not the other way around! Here are the sections I chose:

CALENDAR


In my calendar section I have monthly, 2-page calendars where I can keep all my important dates written down and organized (this is also a part of my bundle).
\

As you can see, I used my calendar A LOT! That's the reason why I keep a binder clip on my binder. I clip the previous month's calendar pages together so I can easily flip to the correct month. You could also clip your lesson plan pages if you use those the most and need to flip to them quickly!


Here's another tip for you: print those babies on CARDSTOCK!! Don't you dare print them on regular printer paper. If you are a serious calendar user like myself (as in: if it ain't on the calendar, it ain't happenin'), you had better use cardstock. Printer paper just is not going to hold up and your calendar will be hanging on by one hole by the middle of the month and you will be sad. Trust me, guys.


LESSON PLANS


This is where I kept my lesson plans! I also included all my favorite lesson planning pages that I use to plan before I get to the weekly plans (monthly plans, 9 weeks plans, quarter plans, etc). I promise that someday I will make those editable for you guys. There is just not enough time in the day, ya know?!


STANDARDS


Here I keep all my standards. I liked to keep my standards in my binder because I liked to have them handy for lesson planning and for meetings. We used our standards in PLC meetings A LOT so it was nice to have them handy! I also kept all my district pacing guides in this section to help keep me on track throughout the year!

STUDENT INFO


Next, I had my student info section. This section was really important to have handy. In it I included my 'How Do We Get Home?' page, student passwords, the class roster that the school gave us with their addresses and phone numbers, student birthdays page, a medical information page where I listed all allergies, medications, and medical conditions, and then our Class Dojo Points page. Of course, I can't show you any of this for real (to protect the innocent) but I will show you the blank pages so you can get an idea!


***TIP! Put important pages that you'll reference a lot in sheet protectors! After a whole year of flipping through these important pages, they'll probably start falling out and you'll have to redo them every so often. Save yourself the work and put them in page protectors! Or print them on cardstock. The choice is yours, my friend.

STUDENT DATA


This section is where I kept the most important data on my students that I used frequently. This data was used a lot during PLC meetings and during my planning of small group activities.

In this section I kept all my STAR Reading results. I liked to print out the graph as well as the benchmark page to help me remember where my students were as far as reading goes. I could easily see who my intervention kids were which was helpful for RtI and PLC meetings.


I also included term grades and 9 weeks test scores in this section so I could go back and look at them quickly. Also great for RtI meetings! We kept grades online but I did like to keep a few grade sheets in this section that were needed during RtI meetings (homework grades and test grades). You're going to want to keep any important assessments or grades that you need to reference frequently during meetings or planning!


PARENT CONTACT


The first page in this section is the Parent Night Sign-In sheet from my Back to School Night post. I had the parents write their emails on the sign in sheet so I had everyone's email in one spot. I emailed parents A LOT so it was nice to be able to access email addresses quickly! Obviously I can't show you my actual page so here's a blank one to give you an idea:


Next, at the beginning of the year, I filled my binder with tons of blank Parent Contact Forms. That way, whenever I met with, emailed, or called a parent, I could flip to this section and fill out a parent contact form quickly while we were meeting! It was so nice to be able to do this. It's great for accountability!


SCHEDULES
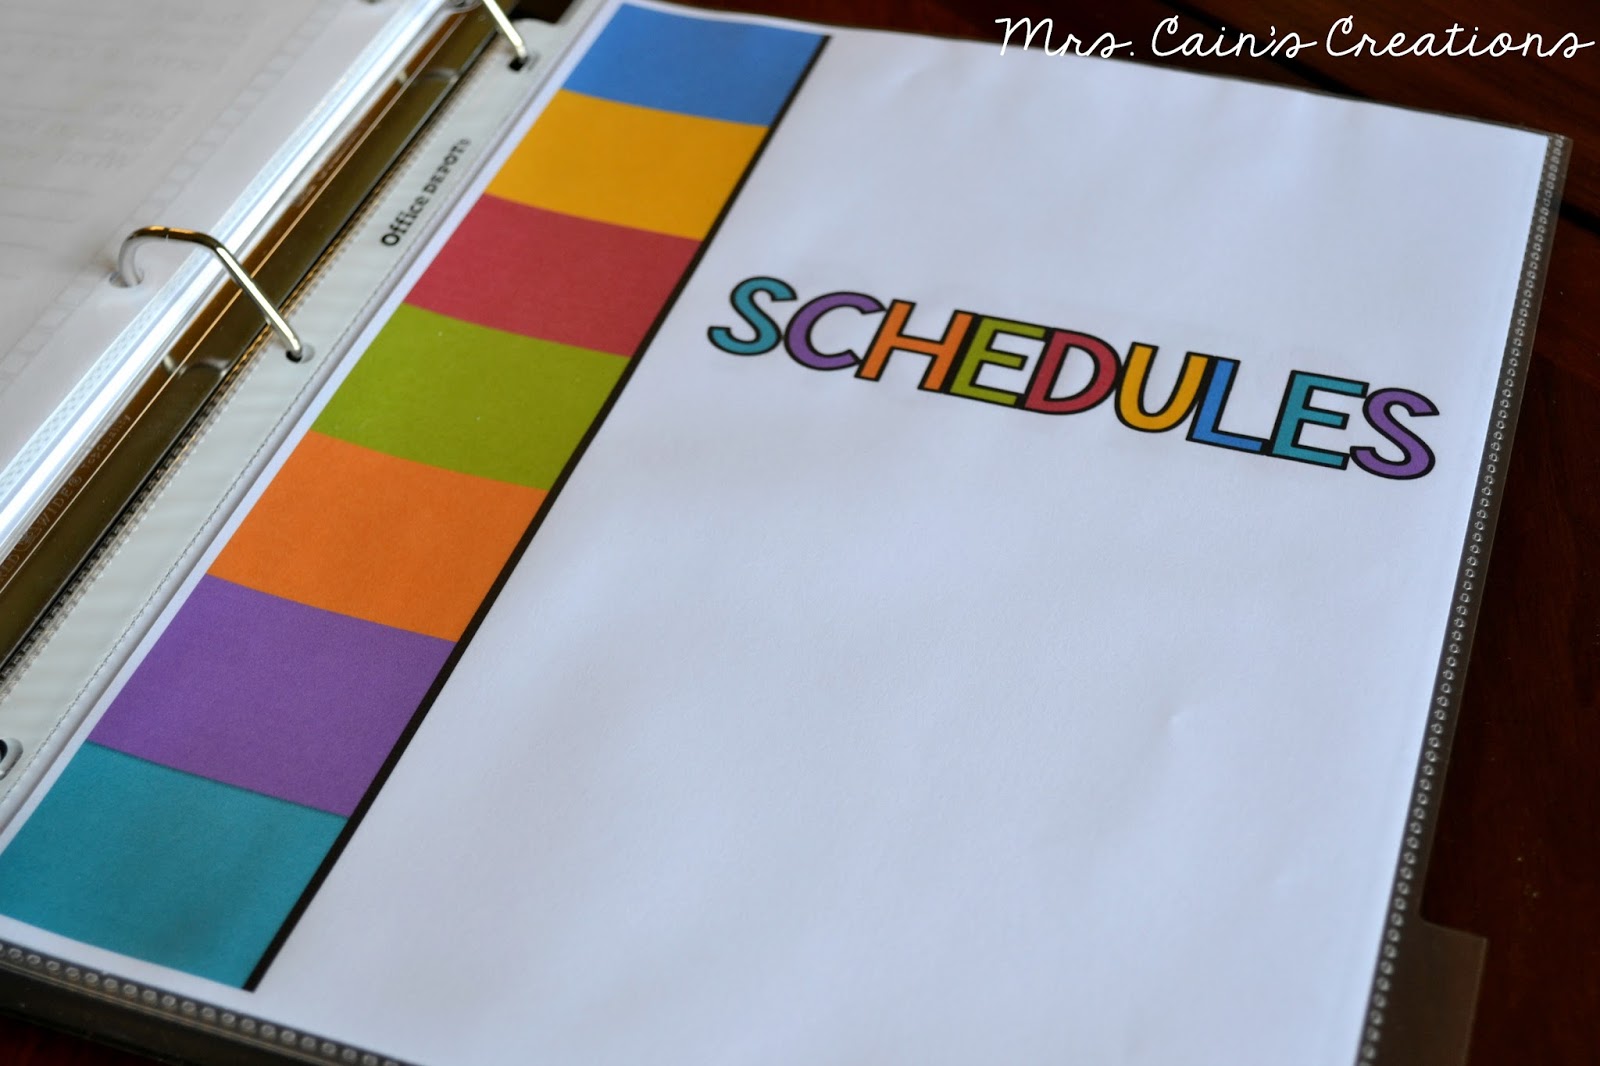


Here I kept all the schedules I needed to keep track of. Things like district calendars, class schedules, planning schedules, duty schedules, pull-out schedules, etc went in this section. Seriously, so many schedules. No picture of my schedules, because, well, they weren't very pretty.

NOTES


Last but not least, I had my notes section. At the beginning of the year, I printed off a ton of my Meeting Notes Pages and put them in this section so they were ready to go when I had a meeting to go to. It was so nice to be able to quickly reference my notes to remember important information from past meetings.


Last but not least, I always printed out our weekly newsletter and put it in the very front of my binder. I referenced it a lot for spelling/vocab words or homework for the day so it was great to have it right there in the front for easy access!


Oh yeah! One last thing! On the back cover of my binder, I include a My Information page! Just in case I ever lose my binder (which would be a tragedy). But with this, it can easily be returned to me!


Alright friends! There you have it! My teacher binder. My pride and joy. Seriously, make this thing work for you, friends. The possibilities are endless! Maybe you would prefer to have multiple binders for each section instead of one 50 pound binder with everything in it. That's great! You do you! Make it work for you!

If your interested in my best-selling Chevron Teacher Binder Bundle you can check it out by clicking the pic below:

I also have a Polka Dot version that matches my Polka Dot Classroom Decor Bundle perfectly!


You can also check out my brand new style! My Bright Colors Teacher Binder Bundle is my new fave!!!

If you aren't interested in the whole binder but just want the organizational forms (these come with both teacher binder bundles), you can get them by clicking the cover below:

Well, if you read through this whole post, you are amazing and I love you. I hope you found something helpful!! And because you are so dedicated, I'm going to give you a freebie for being awesome!! Click the pic below to download my parent contact form! Enjoy!
https://drive.google.com/file/d/0B4mZjxW6oYPgQ3U1ZjBYa2JqRjQ/view?usp=sharing

Have a great school year, teachers!!


Wednesday, July 22, 2015

Wonderful Idea Wednesday!

Hey guys! I'm linking up with Freebielicious yet again for Wonderful Idea Wednesday! We'll all be sharing some wonderful ideas that we have for the classroom! Make sure to hop on over to Freebielicious to check out the wonderful ideas in the link-up!
 Freebielicious
My wonderful idea really should be credited to my husband. He comes up with all the wonderful ideas for my classroom when I'm in a bind or trying to save money. Not even kidding. He's pretty resourceful! Ha!

So for the last two years, I taught 3rd grade departmentalized ELA. Which I really enjoyed. And even though I only had my kiddos for a fraction of the day, I knew I wanted to do Daily 5 (well, my own version of D5) with my kids. They just get so much out of it! I figured out how to fit everything into my schedule, I figured out how to hold my students a little more accountable, I figured out word work stations for 3rd graders, but one thing I could not figure out? Book boxes.

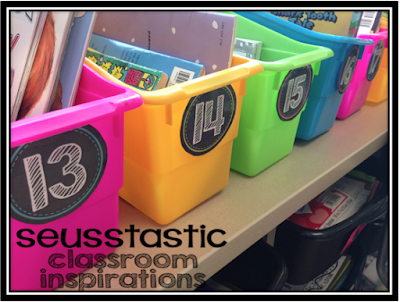
Oh man did I want to be able to have beautiful, hard, plastic book boxes for my kiddos all lined up in neat rows like these beauties from Mel over at Seusstastic Classroom Creations!
 Seusstastic Classroom Creations
But guess what? When you have 45 kids one year and 55 the next, these boxes just aren't happening. First of all, where would I put 55 of these babies?! Second, how on earth can I afford 55 of these at $3.50 each?! That's over $190 for some book boxes. Ain't happening, my friends. Especially when you're a first year teacher with no paycheck yet. Ha!

So I gave up my dream of having the most gorgeous book boxes ever. And sulked about it. And then turned to my husband and griped about it to him. 

His response?

Get some bags. 

What do you mean, "Get some bags?!?"

He wanted me to use Ziploc bags. I mean really? Come on now. But wait a minute. That's not a bad idea. Ziploc bags are cheap. I can get a few boxes of them and have enough for all my students! And we can get labels and the kids can decorate them and make them more personal. PERFECT!!!!

The only problem? One gallon bags don't fit picture books very well and they certainly won't fit folders and notebooks. Sad day :(
Dang it. There goes that idea. So husband and I stomped off to Wal-Mart to find an alternative. And guess what we found guys. TWO GALLON BAGS!!!! I mean, I'm not kidding when I say I heard the hallelujah chorus. 
Did y'all know that such a thing existed? Because I definitely did not. Well they do exist. And guess what? They are PERFECT for book baggies!!
We can fit everything in these babies! Students can fit their book baggie folders, reading journals, writing journals, and their independent reading books! It's perfect! 

Now I think the ones I actually used both years were these Hefty 2.5 Gallon Storage Bags with sliders but I didn't have any of those to show you. They are a little bit bigger and have a slider which is easy for kids to use. The only problem is that the slider falls off or breaks pretty early on, so you can just use whichever one you think is the best!
And the awesome thing about these bags?? They fit perfectly in a milk crate! I had a milk crate for girls and a milk crate for boys for each class and we would just line them up in the crates when we were done with them. It worked out fabulously!! You can sort of see the book baggies in the crates in the pic below. 
And the great thing about these baggies is that if you have a kiddo who is rough on his baggie, you can replace the baggie easily! We did a lot of discussing at the beginning of the year about how to respect our book baggies and how to properly hold them and carry them. Almost all 55 of my students last year made it through the year with only one bag! It was great!

Well there you have it, my friends! My wonderful idea for using two gallon Ziploc baggies for Daily 5 book baggies! Love it! I need to do a post about how I do Daily 5 in a departmentalized classroom. Look for that at some point!

Now make sure to check out the other fabulous bloggers linking up with their wonderful ideas!


Monday, July 20, 2015

Must Have Monday!

Today I'm linking up with Freebielicious for Must Have Monday! We're sharing all of our "must haves" for the school year! And boy do I have some things that I just MUST HAVE!!!
Now let's get started.

First of all, please don't chase me out of town with pitchforks after you read this first one. I need my anchor chart markers. And guys, my go-to markers are NOT Mr. Sketch. *GASP!!!!!!* I know. I know. What is this teacher blasphemy?! A teacher that doesn't use Mr. Sketch?! Not a real teacher. Lord, I apologize. But these babies are my go-to anchor chart markers:
Sharpie's Flip Chart markers. I used to be a die-hard Mr. Sketch fan but then I used these at a professional development and I FELL IN LOVE, Y'ALL!! Why would you ever switch, you may be asking? Well, they don't bleed first and foremost. Every time I used Mr. Sketch markers, I had to have a scrap paper under my anchor chart because they always bled through! These ones never do! Also, I just love the tip on these so much more! I never could get the hang of the chisel tip. Don't worry though. I always buy a pack of Mr. Sketch because the kids love to use them when they write on the anchor charts. But for my own personal use, it's Sharpie Flip Chart Markers all the way. So sorry, not sorry, Mr. Sketch. We just had to break up.

Okay, moving on! My next "must have" is a heavy duty binder.
I use binders for EVERYTHING!!!! But my favorite binder by far is my Teacher Binder! I absolutely love it! It has all my important stuff in it! And I take it everywhere so it has to be tough. Any ol' binder just won't do! It has to be this Heavy Duty version. And y'all, you may think I'm prissy but it also needs to have this fancy easy-open opener (is that what it's called?). Trust me. It's amazing. I don't have to be the Hulk to open my binder! It's great!! I've got a post started to explain my teacher binder but I haven't finished it yet. But you can check out my Teacher Binder product HERE!

My next "must have" is sticky notes!
I always have to start the year with about a billion sticky notes because we use them ALL.THE.TIME! We use them when we read to jot down our thoughts. We use them for exit ticket questions. We use them for review games like THIS ONE. Seriously. I can't get enough. And neither can my students. Even the most mundane tasks become amazing when you are using sticky notes! The only thing I can't stand though is a sticky note that doesn't stick. Makes me sad. So I tend to stick to the name brand Post-Its #namebrandsnob #notashamed

And, finally, my last "must have" for the school year...my SCENTSY!!!!
No, I don't sell Scentsy. I just love a classroom that smells FABULOUS! It is unbelievable how much a good smell can add to the ambiance in a classroom! I always make sure I have a yummy, warm scent going during Back to School Night so that parents and students feel welcomed and at-home in my classroom! I make sure I have a happy, uplifting scent going during my planned evaluations. Not only to keep me happy and calm but also because maybe it'll make my principal a little bit happier, too. HA! You know when else these scents come in handy? After recess at 2pm when it's 100 degrees outside and you have smelly third graders coming back into your room adding their own special aroma. Scentsy always masks the smell of sweat! LOVE IT! Can't go a school year without my Scentsy! 

Well there you have it, folks! My "must haves" for the school year! As long as I have these items, I'm one happy teacher! 

So what are your must haves? Make sure to head on over to Freebielicious and link-up!